
UPDATE: Here you can find my 2024 update to this post
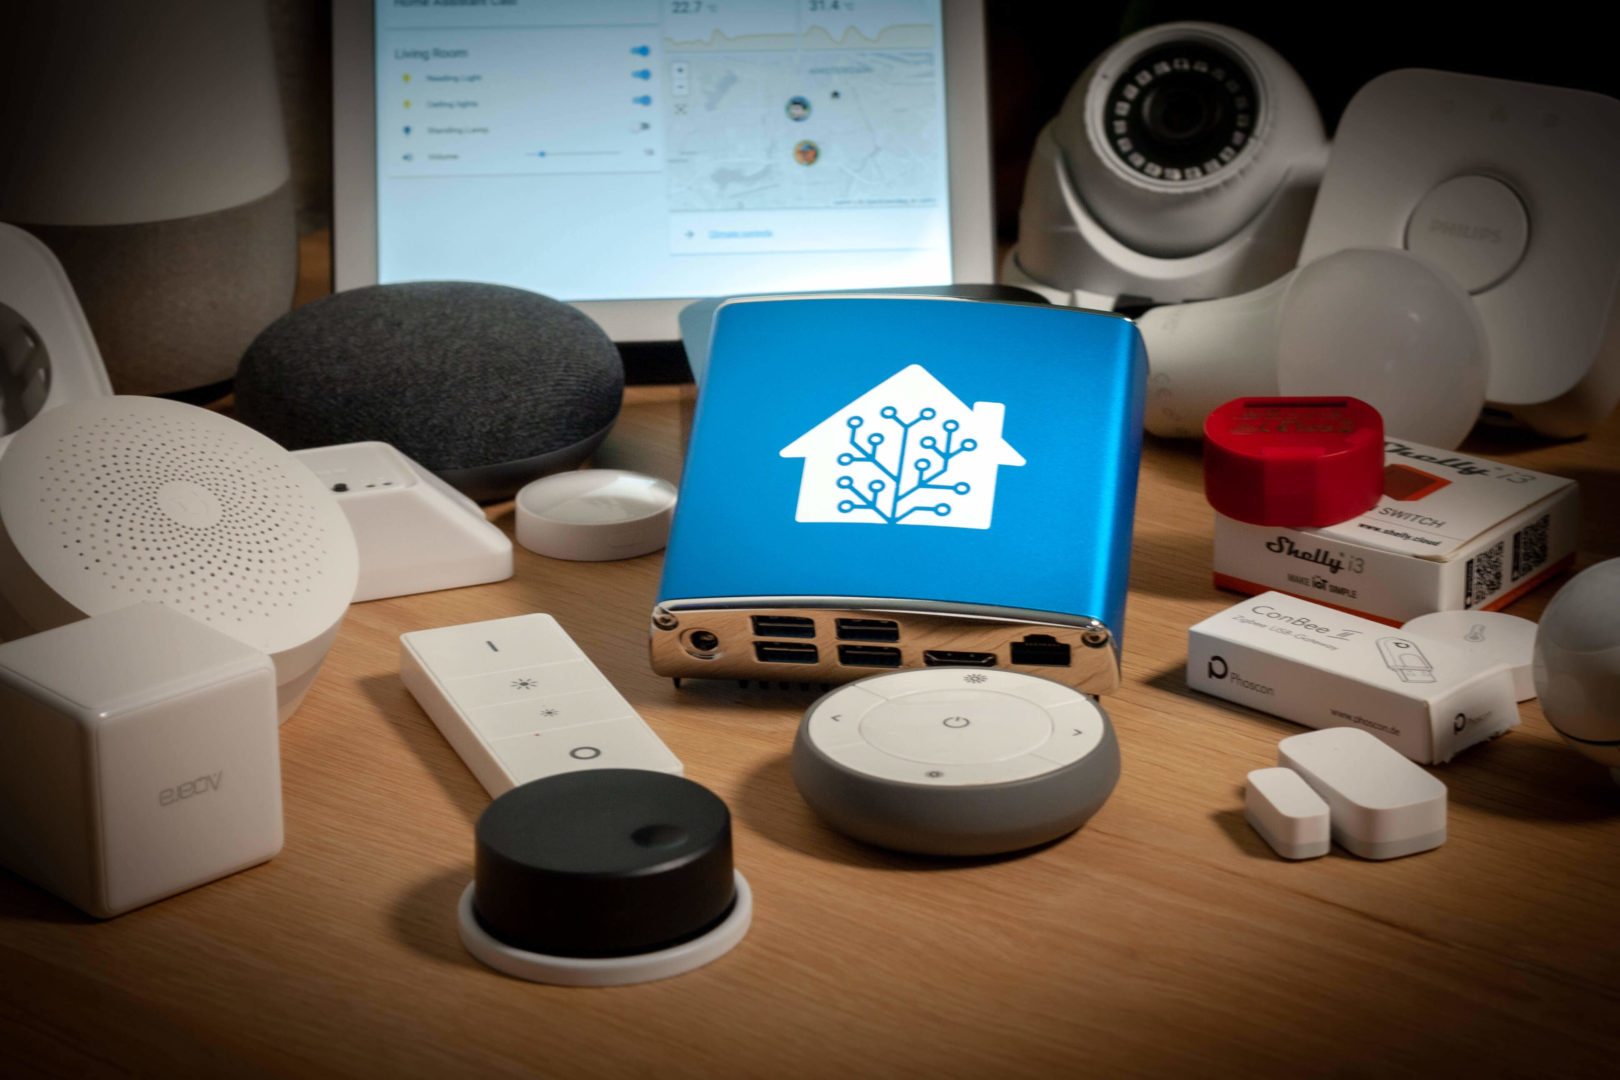
The more you get to grips with Home Assistant, the more certain you are that you’ve made the right choice as a smart home control centre. Once you understand the basic concepts and terminology, you can quickly implement automations and your own ideas. Using our coffee machine as an example, I have tried in this article to explain some basic concepts of Home Assistant and also how to integrate ESP microcontrollers with ESPHome into Home Assistant.
However, before you can even get started with Home Assistant, Home Assistant needs to be installed on some platform. There are quite a few options with pros and cons. You also need to understand what HA-Core, HassOS, Hassio, Hassbian, Supervisor, etc. mean and what they do.
What are Home Assistant Core, Supervisor and HassOS (“Hassio”)?
The core of Home Assistant is a programme based on the Python programming language and is known as Home Assistant Core. The Home Assistant Core takes care of the integration of devices and protocols, automation, monitoring, in short: the functions of a smart home control centre. The core also contains a web server that can be used to access the Home Assistant user interface (GUI). Usually via http://my-ip:8123.
This Home Assistant Core can be operated on all platforms that run Python and fulfil the corresponding dependencies. The Home Assistant Core is also available as a Docker container so that you can install Home Assistant very quickly and use it for initial tests and impressions.
So if you already have an environment with Docker, such as UnRaid, Open Media Vault or even larger NAS systems like QNAP or Synology, you can quickly set up a test installation with the HA Core container. If you don’t know what Docker and Docker containers are, it doesn’t matter, because:
I deliberately write “test installation” here, because the Home Assistant Core is far from being Home Assistant!
With HomeAssistant (formerly Hass.IO), there is a separate Docker version in which the HomeAssistant Core runs as a Docker container. This is where it becomes important: this is the only way to use add-ons with HomeAssistant! And then there is HassOS, or Home Assistant OS. This is a customised (Ubuntu Linux) operating system that contains just enough functions to run all HA functions quickly and securely.
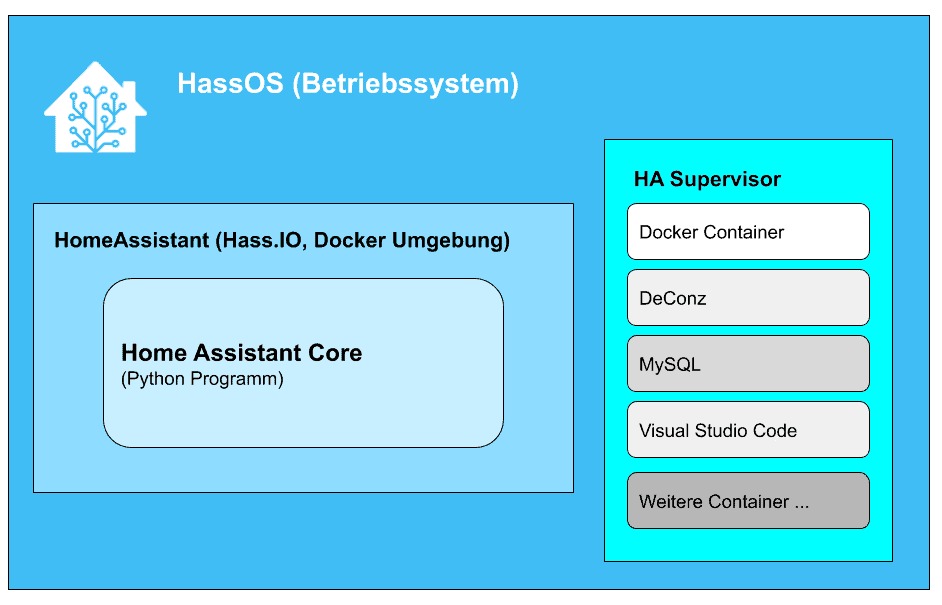
With HomeAssistant Supervised or simply HA-Supervisor, there is an extension that allows you to install and manage other services such as Node-Red, Phoscon/DeConz (see HERE), Ad-Guard and many others directly with HomeAssistant.
However,Home Assistant Supervised is basically just a Docker environment in which extensions such as Node-Red etc. run as containers. If you have already installed Home Assistant Core in a Docker environment anyway, there is little point in also installing HA Supervised as a Docker container, because then a Docker environment would run in a Docker environment. If you go down the Docker route, you install additional services such as Node-Red, DeConz etc. as separate Docker containers. The integration is the same as with HA Supervised.
A CCU for Homematic can also be realised in this way within Home Assistant. These programmes are thus practically seamlessly integrated into Home Assistant and managed within it. You don’t have to worry about the configuration and connection to HA and all updates etc. are also carried out automatically. The Supervisor also brings Microsoft’s Visual Studio code directly into Home Assistant as an editor, which is extremely helpful when creating automations and configurations.

The supervisor takes care of monitoring the services (watchdog). Technically speaking, the Supervisor is also just an additional Docker environment.
All in all, this sounds relatively complex and confusing at first. Today, the Home Assistant is the combination of the Home Assistant Core, the Docker environment, which is unfortunately also simply called HomeAssistant, and the HomeAssistant Supervisor. In combination, this allows easy operation on different platforms, such as a Raspberry Pi. It is available as a ready-made image for a Raspberry or as an appliance if you want to run it as a virtual machine on a corresponding server (this is also how I run Home Assistant: as a virtual machine on an UnRaid server).
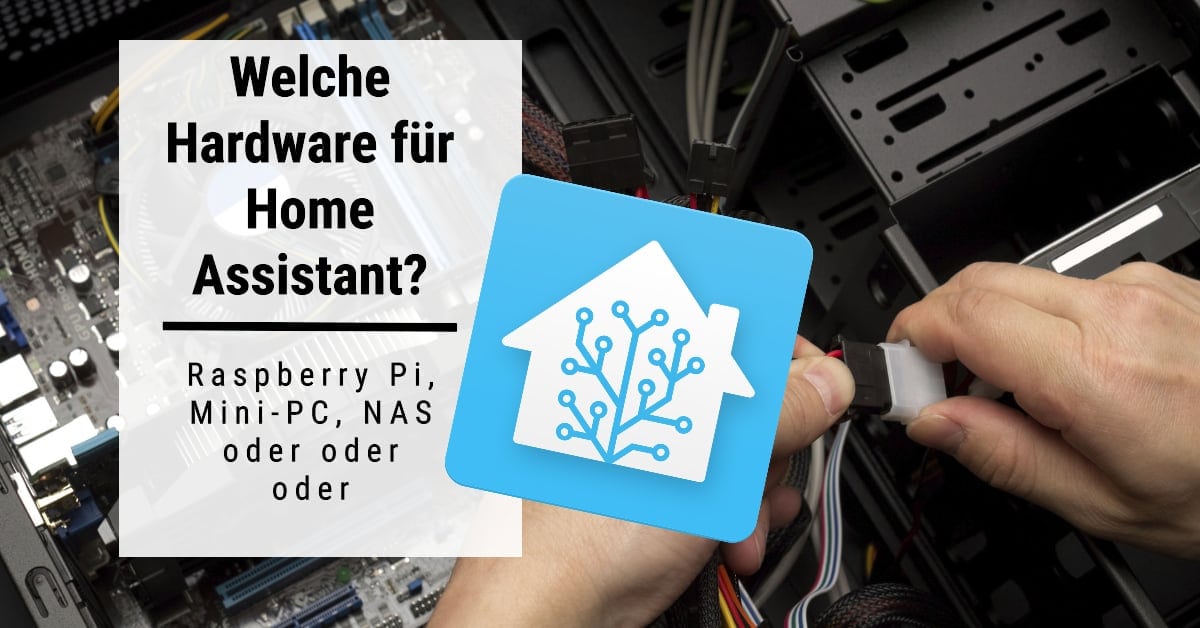
Which platform or hardware to choose for Home Assistant?
If you want to keep things simple, install Home Assistant on your own computer. This can be a Raspberry Pi, an Odroid computer, a mini PC such as an Intel NUC or even a discarded notebook or PC.
The Raspberry Pi sounds logical here and is very inexpensive. However, it must be a Raspberry Pi 3, 3 or even better a Raspi 4 for real operation. A Raspberry Pi Zero or Pi2 is only suitable for test purposes and is too weak for operation as a smart home server.
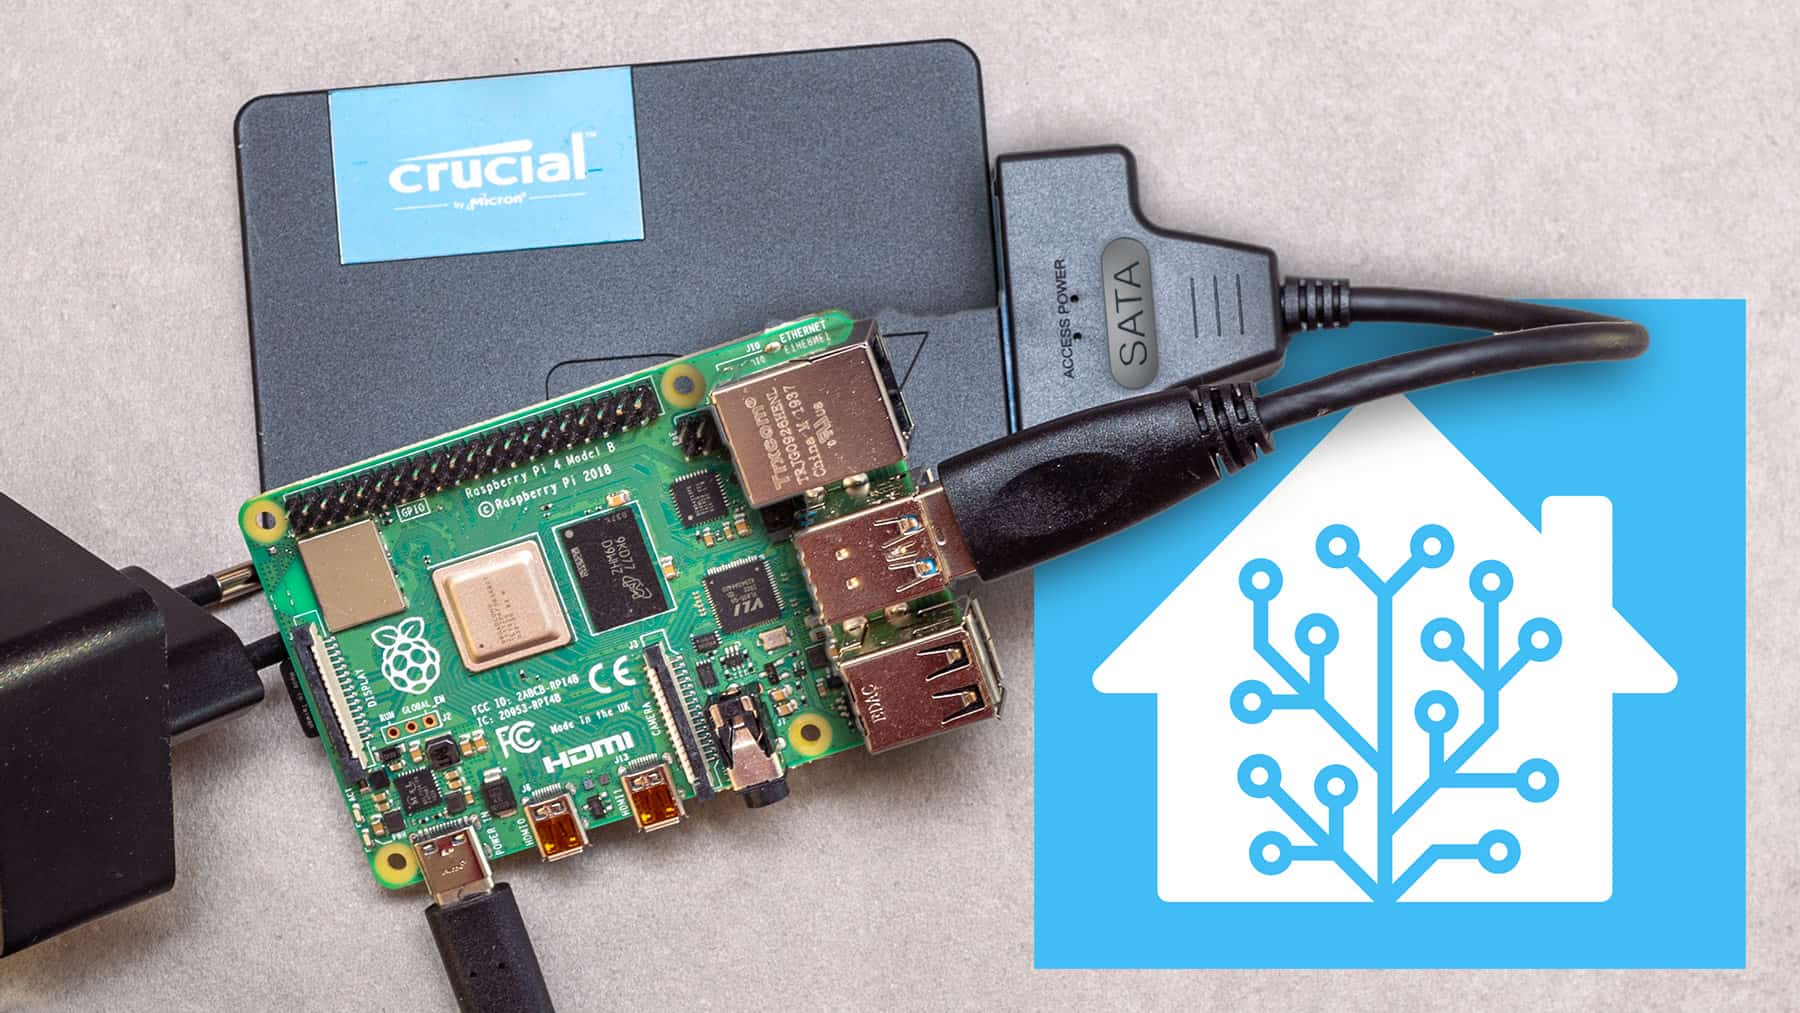
However, there is another problem with the Raspberry Pi: the SD card. A Raspi usually runs with a micro SD card. However, as Home Assistant (and many other applications) often write to the card to record logs, statuses etc., this will fail sooner or later. I have already had 2 Raspis that failed after a year – despite a high-quality A2 SD card.


You can also use an SSD or M.2 SSD on a Raspi with an adapter and recently even boot directly from the SSD. The additional costs of around 30 euros for a 240 GB SSD and 10 euros for a SATA-USB3 adapter are manageable. However, the result is a much more stable platform that is also faster.
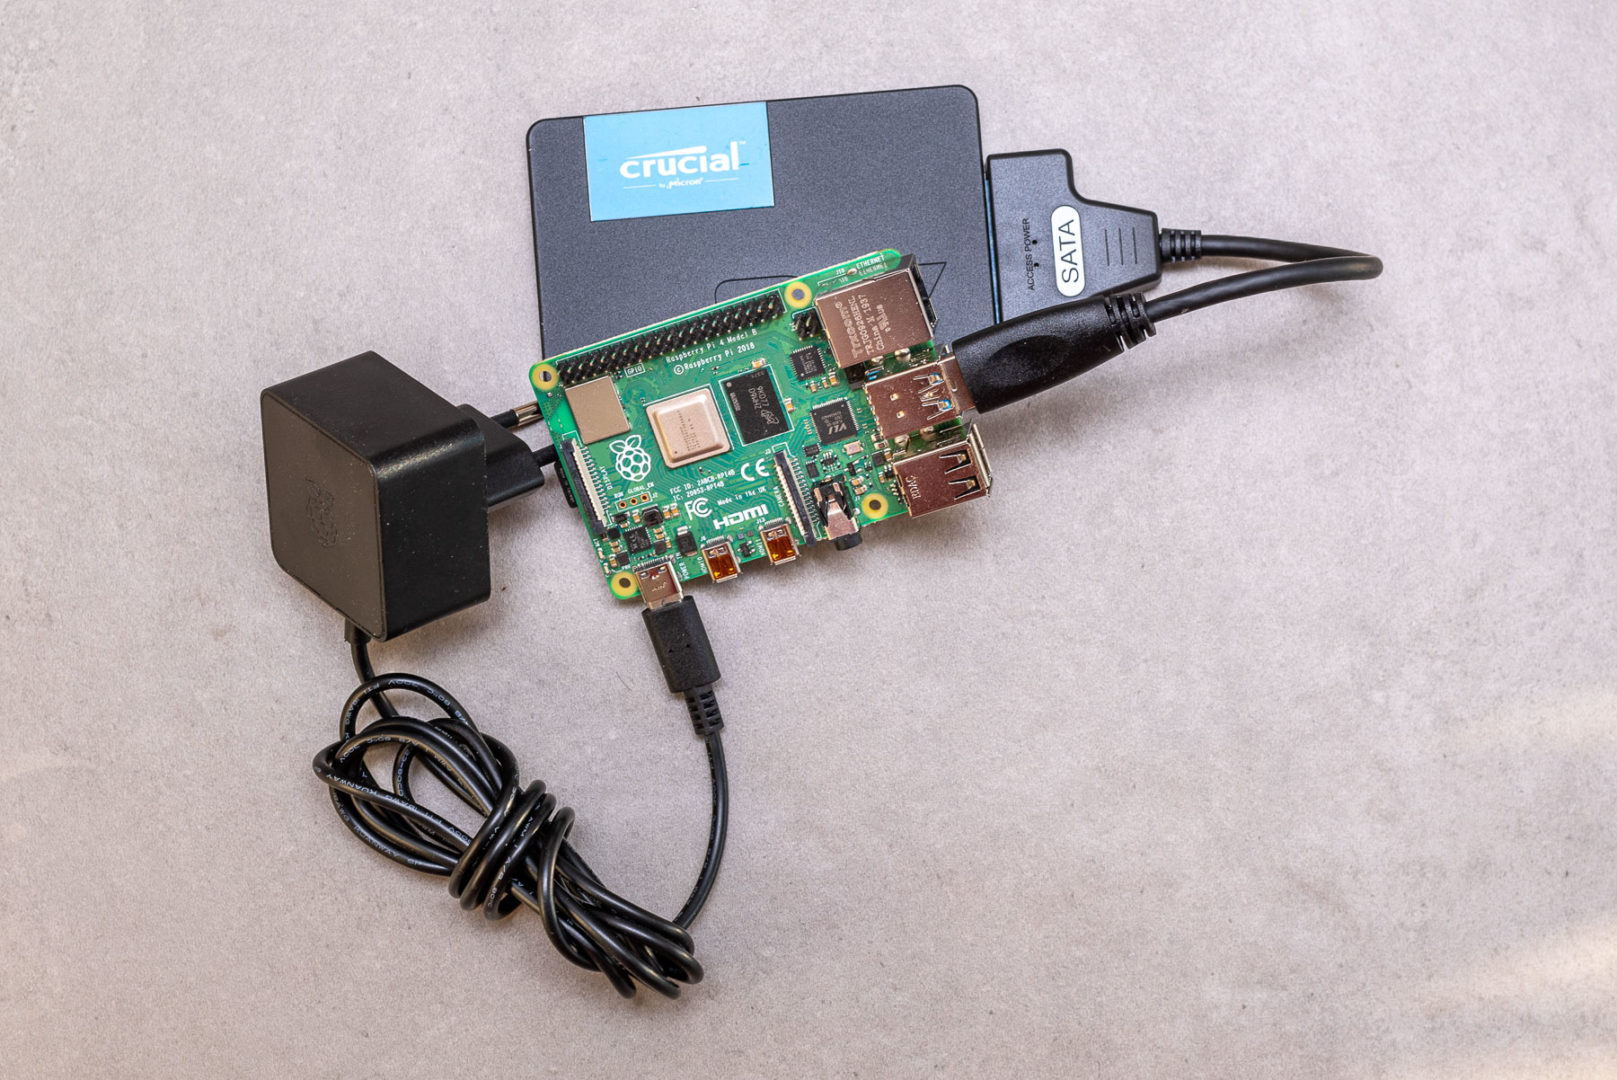
You also need a housing, a suitable power supply unit with at least 2.5 amps and ideally a cooling system. With a Raspberry 4 with 4 GB, the total price is around 150 euros. This can be used to operate smaller Home Assistant configurations. However, if your requirements increase, even a Raspberry Pi 4 may soon become too small.
There used to be a Hassbian image for the Raspberry, but this has been discontinued in favour of HassOS.
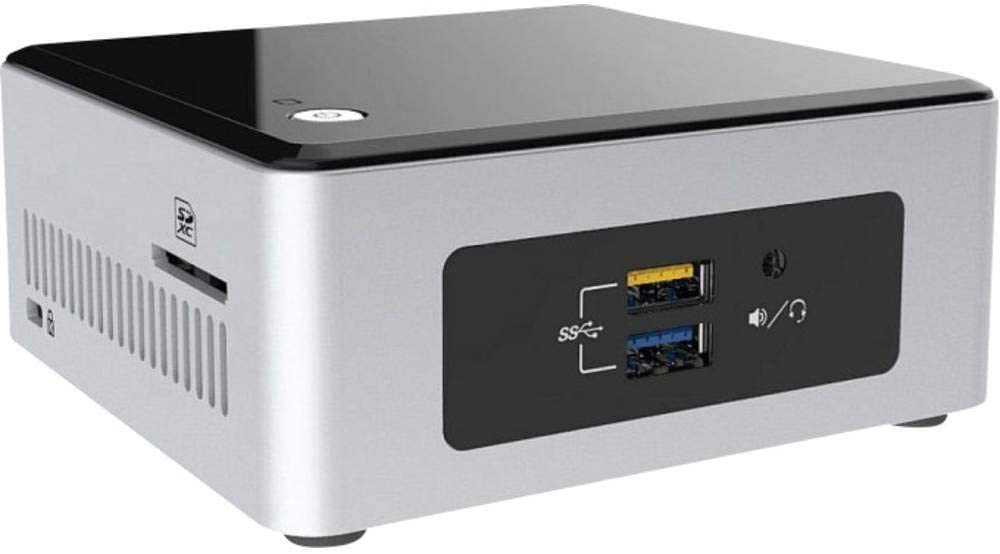
You can get an Intel NUC with an N3700 CPU for a good 100 euros more. The variant with an Intel NUC is also the preferred solution for home assistants for most HA users and many who started with a Raspi will sooner or later switch to a NUC. However, you shouldn’t choose the smallest version here either, but a model with an i3 or, even better, an Intel i5 CPU. This will give you a smart home platform that will be able to handle many tasks in the future, as the number of integrations, devices and automations will increase the more you work with Home Assistant.
If you also want to run power-hungry functions such as ZoneMinder or MotionEye – both systems for recording surveillance cameras (sometimes with person recognition) under Home Assistant – you need to rely on even more powerful systems.
There is a ready-made image for the Intel NUC that you simply have to install and you immediately have a working system.
Or you can look for a compact PC at used PC providers such as Harlander. Here you can find powerful mini PCs, some with an i7 CPU, from just over 200 euros.
If you want to use old PC hardware, you first need to install an Ubuntu server, then Docker (and possibly Portainer) and then Home Assistant. This method requires appropriate knowledge in this area and is more complex than the variant with the Raspi or NUC. In addition, with the Linux variant you have to take care of updating the operating system yourself. The other methods rely on HassOS and the updates are carried out directly from Home Assistant. HassOS is also ideally adapted to the requirements of Home Assistant.
A good guide on how to install Home Assistant on PC hardware with Ubuntu Server can be found HERE.
Home Assistant Blue and the Odroid
The Home Assistant Blue has recently become available as a fully pre-installed and ready-to-use computer. It is based on an Odroid-N2, has an eMMC with 128 GB built-in and comes with a stylish housing including the HA logo. Unfortunately, it is not yet so easy to obtain in Europe and costs 300 euros. But you can also build the Blue yourself.
An Odroid N2 with 128 GB eMMC, housing and power supply costs around 180 euros and is available from Pollin, for example. If you want, you can also 3D print a similarly stylish case yourself: Home Assistant Blue case at Thingiverse
Home Assistant as a virtual machine
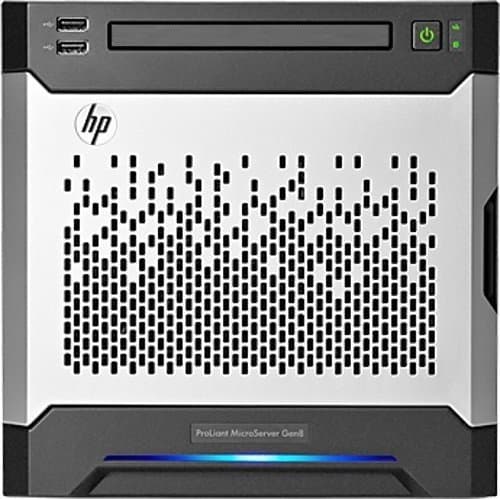
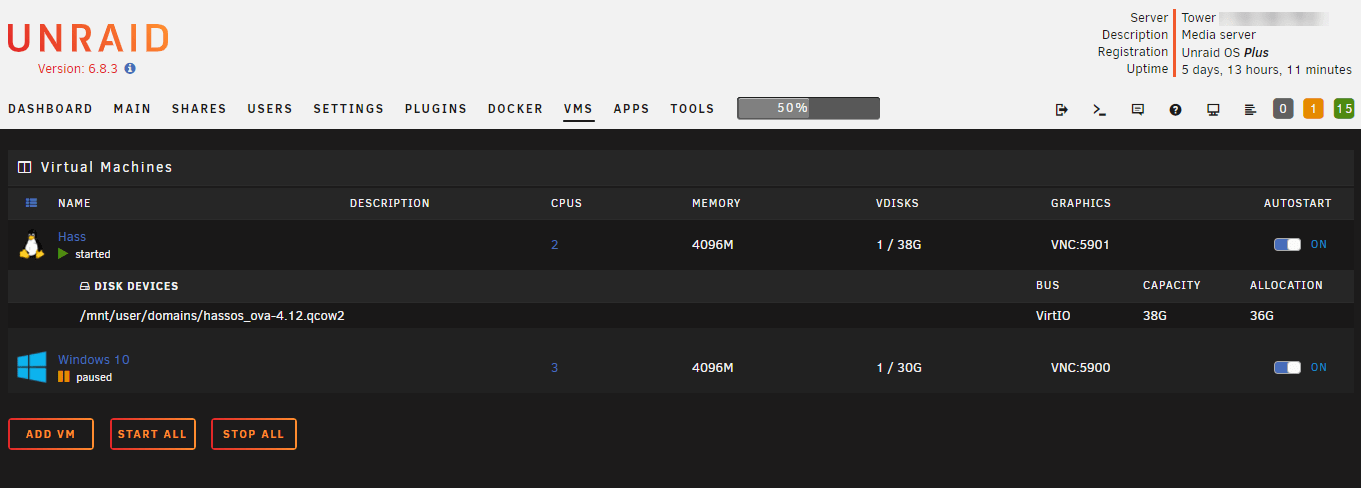
There is still the option of running Home Assistant as a virtual machine. This is what I do, as I already have a relatively powerful home server in my technical room. It consists of an HP Proliant Microserver Gen8 with SSD and 4 hard drives, 16 GB RAM and an Intel Xeon E3-1230 CPU. My server software is UnRaid, which comes with a virtualisation solution so that you can run virtual machines straight away.
However, Proxmox or, of course, a VMware ESX are also possible platforms. Ready-to-use appliances are available for the various virtualisation platforms. My Home Assistant Server was up and running as a virtual machine within 15 minutes.
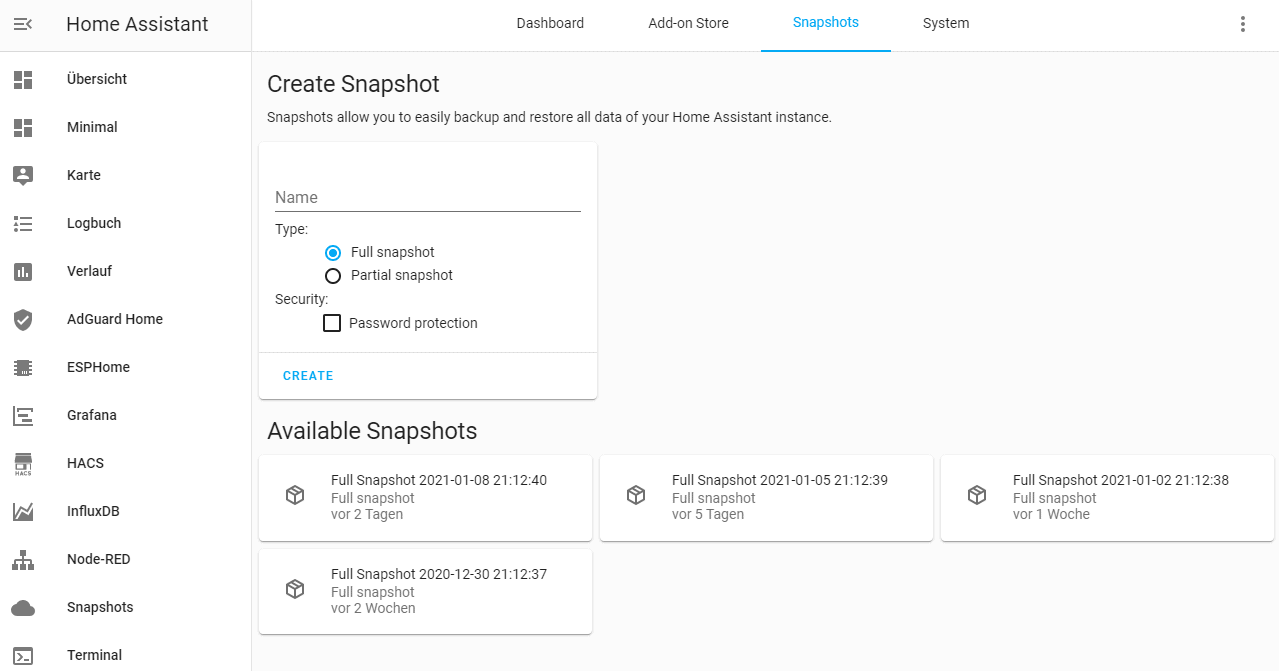
Speaking of backups: With Home Assistant, there is relatively little point in backing up the entire virtual machine. With the built-in backup functions, all settings and data can be restored very quickly and securely. A virtual machine with Home Assistant is set up again very quickly and, according to my tests, restoring the backups runs smoothly.
Considerations and recommendations for a Home Assistant server
If you first want to see whether you can cope with Home Assistant and whether it is suitable for you, I would initially recommend a Raspberry 3 or, even better, a Raspberry 4. You can go live with the latter for as long as you feel that it is sufficient for you. You can also start with an SD card. The investment costs are therefore manageable and the installation is very simple. Perhaps you still have a Raspi lying unused in your tinkering box? Later you can also switch to an SSD.
All you need for installation is an SD card with 32 GB or more and the right image for your hardware. You can find an overview and downloads HERE and the installation instructions HERE.
The next cheaper variant on your own hardware for Home Assistant only is the Odroid. Should the Home Assistant Blue soon be more readily available in Europe, this would of course be the simplest option, as it gives you hardware with pre-installed HA for immediate use. As the Home Assistant makers offer precisely this platform as hardware, it can be assumed that it is correspondingly powerful and that HA will be optimised even more.
The Intel NUC is more expensive but more readily available. Here you already have a ready-made PC, don’t need to worry about the housing, cooling or power supply and can also get started with Home Assistant in no time at all because ready-made images are offered.
All three variants are also the ones with the lowest power consumption.
If you have Linux experience, you can also use old PC hardware. However, you won’t have the convenience of HassOS and the simple updates directly from the Home Assistant interface for the entire system, including the operating system.

That leaves Docker and virtualisation: I (and others) have not had good experiences with Homeassistant Core and Supervisor in Docker under UnRaid (with the Docker containers offered there). It is complex to configure and does not run particularly stable. See also HERE.
Thanks to the backup and snapshot functions in HA, you can easily migrate your configuration and settings from one platform to another should you change your mind at some point.
There are plenty of hardware options available for Home Assistant as a smart home hub. Hopefully, this article will help you decide which one is right for you.
Letzte Aktualisierung am 2026-06-11 / Affiliate Links / Bilder von der Amazon Product Advertising API

Leave a Reply